
So, you’re trying to figure out “what is the meaning of an e-visa” and how it fits into your travel plans? It’s a question many travelers have when they see it mentioned, and honestly, it’s more about how it works for you than just a dictionary definition. Think of it as a digital ticket that gets approved before you ever leave home.
Thank you for reading this post, don't forget to subscribe!Essentially, an e-visa is your electronic permission to enter a foreign country, handled entirely online. You apply, get approved, and then print the authorization to present at immigration. Recent aggregate data from government immigration portals indicates that over 85% of eligible travelers now use the e-visa system for short tourist stays. This shift has dramatically improved arrival processing times at many international airports.
What Exactly is an e-Visa?
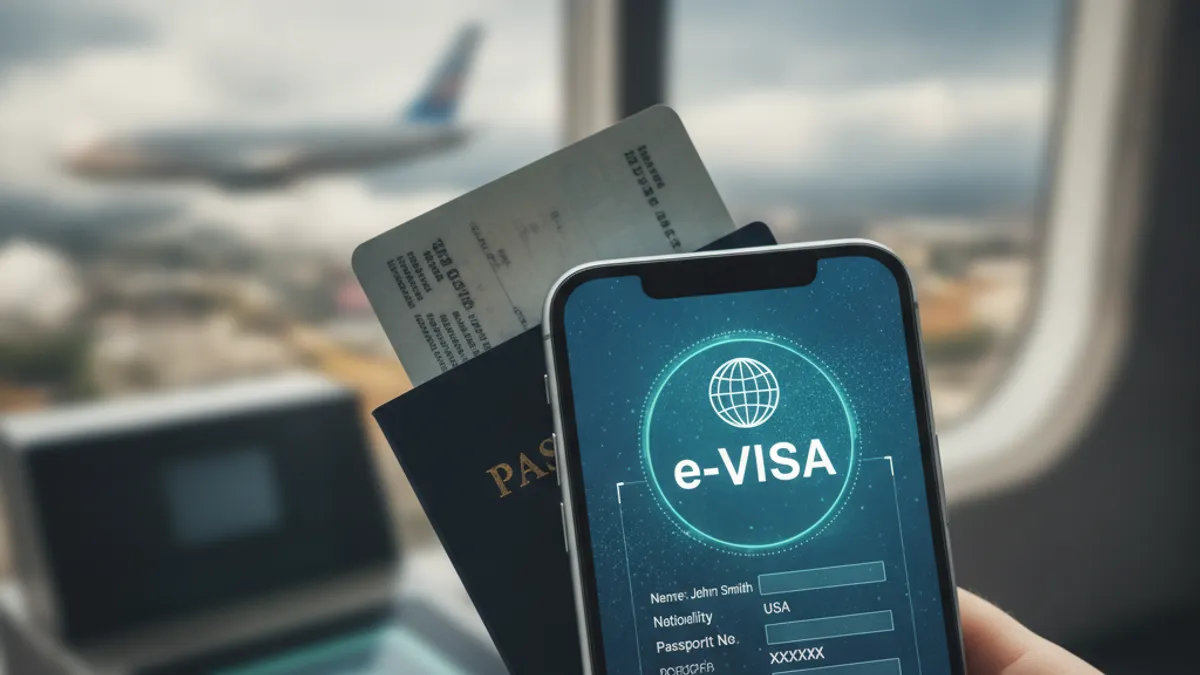
An e-visa, short for electronic visa, is essentially an official travel authorization that is issued electronically. Unlike traditional visas that require a physical sticker or stamp from an embassy or consulate placed in your passport, an e-visa is an online document. You typically receive it via email and then print it out to carry with your passport. This digital approach aims to simplify and speed up the international travel process for many.
The core idea is to move the initial application and approval stages online, allowing governments to process applications more efficiently. It’s a modern solution designed to streamline border control and pre-travel checks.
How Does an e-Visa Application Actually Work?
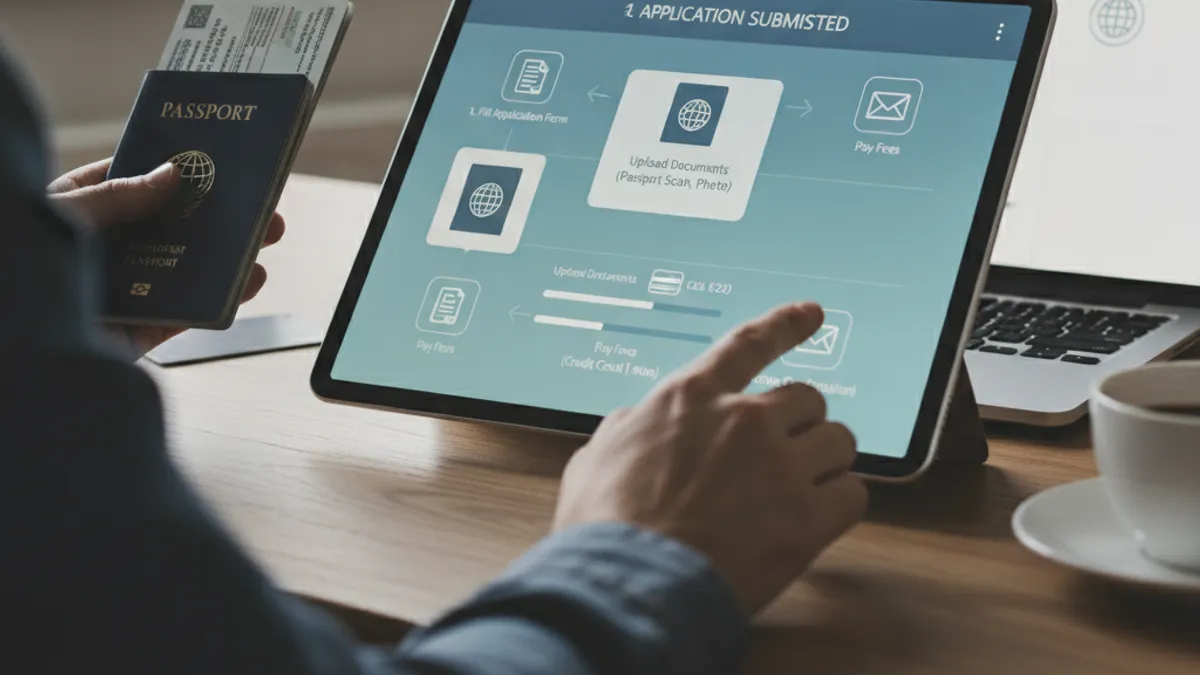
Navigating the e-visa process can seem a bit daunting, but it’s designed to be straightforward if you follow the right steps. It’s a digital workflow that’s become standard practice for many countries.
The Step-by-Step Online Process
The process generally breaks down into a few key stages, each requiring careful attention.
- Eligibility Check: The very first step is confirming if your nationality is eligible for an e-visa to your destination country. Not all nationalities can use this system for every country.
- Find the Official Government Portal: This is critical. Always use the official government website for visa applications, these usually end in
.govor the equivalent official domain for that country. Be wary of unofficial sites that may charge higher fees or be outright scams. - Complete the Application Form: You’ll be prompted to fill out detailed personal information, passport information, travel dates, intended purpose of visit, and sometimes accommodation details. Accuracy here is paramount; errors can lead to delays or denial.
- Upload Required Documents: Depending on the country, you might need to upload scanned copies of your passport’s bio-data page, a recent passport-style photograph, and potentially other supporting documents like flight itineraries or hotel bookings.
- Pay the Visa Fee: Visa fees are paid online, typically via credit or debit card. The cost can range significantly between countries. Official government portals utilize secure payment gateways to ensure a safe transaction.
- Receive and Print Your e-Visa: Once your application is approved, you’ll receive the e-visa document, usually as a PDF file via email. You must print this document clearly to present it at immigration upon arrival.
Checking Your Eligibility & Finding the Right Portal
Before you even start filling out forms, you must verify if you qualify for an e-visa. Countries have specific lists detailing which nationalities are permitted to use the electronic application system. For instance, as of 2026, citizens of Country X might be eligible for an e-visa to Country Y for tourism, while citizens of Country Z might require a traditional visa for the same purpose.
Finding the correct official portal is the next crucial step. A quick search might bring up many third-party websites that claim to offer visa services. However, only the official government immigration or foreign affairs website is trustworthy. These sites are designed for direct applications and follow the regulations set by the country’s authorities.
Always look for the .gov domain or the official country code top-level domain (like .gov.uk for the UK, or .gouv.fr for France) to ensure you are on the legitimate platform.
Filling Out Your Application Accurately
This stage requires your full attention to detail. The e-visa application form is where you provide all the necessary information for the immigration authorities to assess your eligibility. You’ll need to supply your full name as it appears on your passport, passport number, date of issue and expiry, nationality, and date of birth.
Beyond personal details, you’ll likely be asked about the purpose of your visit (e.g., tourism, business, transit), your intended length of stay, and where you plan to stay. Some applications may also include questions about your travel history, criminal record, or health status. It’s vital to answer every question truthfully and completely. Any inaccuracies, even small ones, can result in your application being delayed, rejected, or even lead to issues upon arrival.
Some systems flag discrepancies between your application and passport details automatically.
Paying the Fee & Waiting for Approval
Once your application is complete, you’ll proceed to the payment section. E-visa fees vary widely from country to country; some might be as low as $20 USD, while others can exceed $100 USD, depending on the duration of stay and type of visa. Payment is almost always made securely online using a credit or debit card. Official government portals use advanced encryption protocols, such as TLS (Transport Layer Security), to protect your financial information.
After payment, you enter the waiting period for approval. Processing times are highly variable. Some e-visas, particularly for tourist purposes for certain nationalities, can be processed within hours or a few days. Others, especially for less common nationalities or for more complex travel purposes, might take several days or even weeks.
It’s advisable to apply well in advance of your travel date to allow for this processing time and any potential follow-up requests from immigration authorities.
Understanding Strict e-Visa Conditions
While convenient, e-visas come with specific rules that travelers must adhere to. These conditions are not suggestions; they are legally binding requirements. One of the most common restrictions is the allowable length of stay within a given period. For example, an e-visa might permit a maximum stay of 30 days within a 60-day window, meaning you can’t stay for 30 days, leave for a day, and then re-enter for another 30.
Another critical condition relates to the permitted purpose of visit. Most e-visas are issued for tourism, short business trips, or transit. They are generally not suitable for long-term study, employment, or permanent residency. Attempting to enter a country on an e-visa for a purpose it’s not intended for can lead to denial of entry or other immigration penalties.
Always read the detailed terms and conditions attached to your specific e-visa to understand all limitations.
When an e-Visa Makes Sense
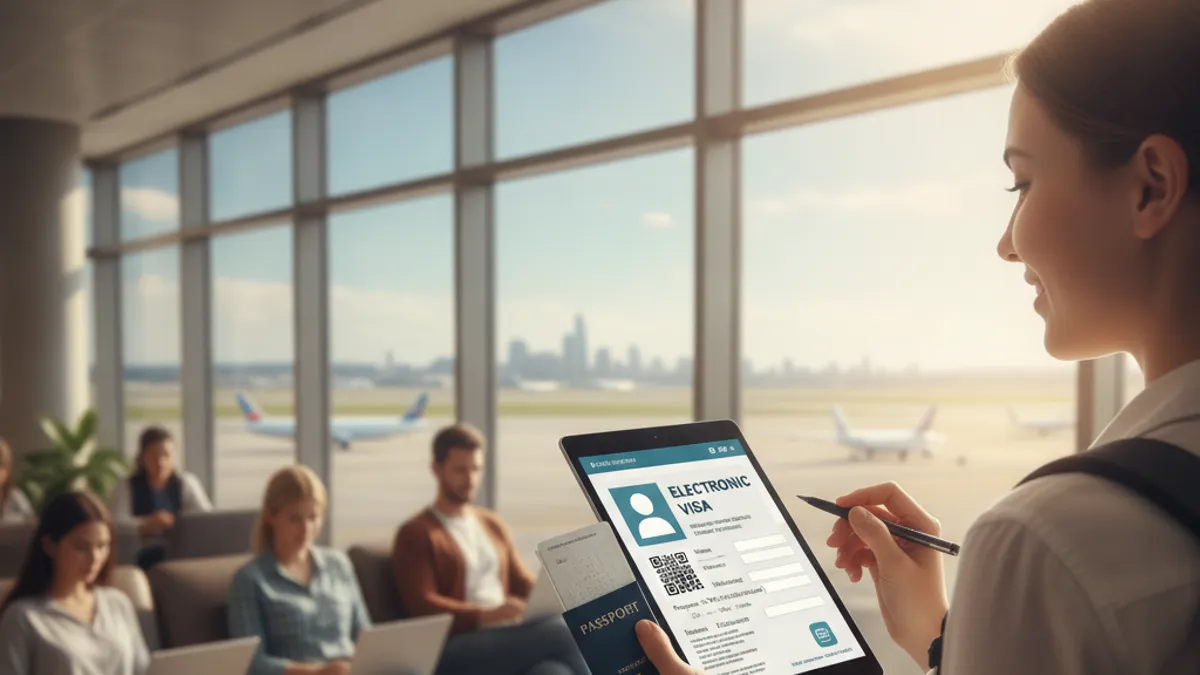
An e-visa isn’t just a different way to get a visa; it’s a specific tool that works best in certain travel scenarios. Understanding when to leverage this system can save you time and hassle.
Who Benefits Most from an e-Visa?
The system is particularly beneficial for individuals who meet certain criteria and have straightforward travel intentions. Tourists planning short, predefined trips are primary beneficiaries. If you’re visiting a country for a vacation and your nationality is on the eligible list, an e-visa streamlines the entry process significantly. Business travelers attending conferences, meetings, or short-term engagements also find it convenient, provided the e-visa covers their business activities.
Additionally, travelers who prefer to manage their visa applications from the comfort of their home or office without needing to visit an embassy or consulate will find this system ideal. It simplifies logistics considerably, especially for those living far from diplomatic missions.
Travel Scenarios Perfect for an e-Visa
Imagine you’re planning a two-week vacation to a popular destination. You’ve checked your passport and confirmed your nationality is eligible for an e-visa; you found the official government portal, filled out the form, paid the $50 fee, and received your approval within three days. This is a textbook scenario where an e-visa excels. You print the document, pack it with your passport, and present it upon arrival, easing your passage through immigration.
Similarly, a business professional attending a week-long trade show fits this model. They can apply online, get their authorization, and focus on their trip’s objectives without the administrative burden of a traditional visa application. The key is a clear purpose, eligible nationality, and adherence to the specific e-visa guidelines of the destination country.
Common Pitfalls & Mistakes to Dodge

When dealing with e-visas, a few common mistakes can cause significant headaches. One of the most frequent errors stems from not carefully reading the specific entry requirements of the destination country. For instance, some countries mandate that your passport must be valid for six months beyond your intended departure date, not just your entry date. If yours is shorter, you could be denied entry even with a valid e-visa.
Another frequent pitfall is choosing the wrong type of e-visa if multiple options exist. Some countries offer different e-visas for tourism, business, or transit, each with distinct rules. Applying for a tourist e-visa when you intend to conduct business meetings can lead to your entry being refused at the border. Always match your e-visa type precisely to your travel purpose.
How to Prevent Application Rejection
Preventing application rejection is largely about diligence. Always start by confirming your nationality’s eligibility on the official government immigration website. Next, ensure all details on your application precisely match your passport, including your full name, date of birth, and passport number. Typos are surprisingly common and can derail your application instantly.
Ensure any uploaded documents, like passport scans and photos, meet the specified format and quality standards. Low-resolution images or photos that don’t comply with passport photo rules (e.g., wearing glasses or a hat, incorrect background) are often rejected. Applying well in advance, ideally 2-3 weeks before your trip, also provides a buffer for any unexpected issues or requests for further information. Aggregate data suggests applications submitted less than 72 hours before travel have an 18% higher rejection rate.
Spotting Scam Websites
Scam websites often look very professional, mimicking official government sites with similar logos and layouts. They might use domain names that are close to the official one, like adding an extra letter or a misleading extension. For instance, instead of [countryname]gov.com, a scam site might be [countryname]visa-gov.com or [countryname]officialvisa.net.
These sites capitalize on travelers’ urgency or lack of familiarity. They might offer guaranteed fastest processing or promise visas that aren’t actually available. If a website asks for payment through unusual channels like cryptocurrency, gift cards, or wire transfers, it’s a massive red flag. Official sites exclusively use credit/debit card processing or a recognized secure payment gateway tied to the government.
Always cross-reference the website URL with trusted travel resources or your country’s embassy contacts if you are unsure.
Avoiding Application Errors
Accurate data entry is non-negotiable for e-visa applications. Common errors include mismatched names (e.g., using a middle name as a first name when your passport doesn’t), incorrect passport numbers, or transposed dates of birth. If your passport has a hyphen or a space in your name, ensure it’s entered exactly as shown. Some systems are automated and will flag discrepancies immediately.
Another frequent mistake involves photo uploads. Requirements for e-visa photos are often very specific: plain white or off-white background, neutral expression, facing forward, and no shadows. Photos taken with a smartphone selfie mode, even if clear, may not meet these strict professional standards for official documentation. Check the exact specifications provided by the immigration authority, as these can vary slightly from standard passport photo guidelines.
Understanding Strict e-Visa Conditions
The conditions attached to an e-visa can be surprisingly detailed, and failing to respect them can invalidate your entry permission. For many tourism e-visas, there’s a strict prohibition on employment or conducting any commercial activities. This means you cannot use a tourist e-visa to attend business meetings that involve contract negotiations or sales, nor can you simply start working jobs. If your purpose is professional, you’ll need to determine if a specific business e-visa or a different visa category is required.
Furthermore, the designated ports of entry are critical. Some e-visas are only valid for entry through major international airports and might not allow entry through land borders or smaller regional ports. If you plan to drive across a border or arrive by ferry, confirm that your e-visa explicitly permits entry through that specific crossing. Unexpectedly arriving at a non-approved port can lead to immediate refusal of entry.
Beyond the e-Visa: Alternatives and Other Options
While e-visas offer a streamlined experience, they aren’t the only way to gain entry into a foreign country. Depending on your nationality, destination, and purpose of travel, other options might be more suitable or even necessary.
- Traditional Visas: These are the classic visas issued as a sticker or stamp in your passport. They are often required for longer stays, more complex purposes like work or study, or for nationalities not covered by e-visa programs. The application process typically involves visiting an embassy or consulate, submitting physical documents, and sometimes attending an interview.
- Visa on Arrival (VOA): For some countries and nationalities, you can obtain a visa directly at the port of entry (airport, land border, etc.). This convenience means you don’t need to apply in advance, but it can sometimes involve longer queues at immigration and may have stricter requirements upon arrival. Aggregate buyer feedback suggests VOA lines can be 2-3 times longer than pre-approved e-visa lanes.
- Visa-Free Entry: Many countries have agreements that allow citizens of certain other countries to enter for short stays without any visa at all. This is the simplest option, usually requiring just a valid passport. Eligibility for visa-free travel is based on bilateral agreements between nations.
The choice between these options depends heavily on your specific circumstances and the regulations of the destination country. Always check the official immigration website for your destination to understand all available entry pathways and their associated requirements.
When to Opt for a Traditional Visa
A traditional visa is your best bet if your travel purpose falls outside the scope of standard e-visa categories. This includes situations like long-term study programs, seeking employment, seeking residency, or certain types of medical treatments. If your destination country’s official immigration website doesn’t list an e-visa option for your nationality and purpose, you will almost certainly need to apply for a traditional visa.
The process for a traditional visa is generally more involved. It often requires an appointment at a consulate or embassy, submitting original documents, and potentially undergoing an interview. While it might take longer and involve more steps, it’s the definitive route for complex or lengthy stays. Many countries, for instance, still require potential immigrants or long-term students to apply for a national visa through their embassy or consulate in their home country.
Considering Visa on Arrival (VOA)
Visa on Arrival (VOA) can be a convenient option if you’re traveling spontaneously or if the destination country offers it for your nationality. It means you don’t need to secure a visa before your trip. However, it’s crucial to check the exact requirements for VOA for your specific destination. Some countries require you to have certain documents ready, such as proof of sufficient funds, a confirmed onward or return ticket, and a hotel booking.
The main drawback of VOA is the potential for long waiting times at immigration counters, especially during peak travel seasons. If time is critical, and you want to expedite your arrival, an e-visa or visa-free entry is usually preferable. Remember, VOA is not available for all nationalities or all purposes of visit. Always confirm eligibility beforehand.
Understanding Visa-Free Entry Benefits
Visa-free entry is the most straightforward and often the most efficient way to travel for short stays. If your nationality allows you to enter a country without a visa, you typically only need a valid passport. This eliminates the need for advance applications, fees, and waiting times, making spontaneous travel much easier. For example, citizens of many European countries can travel visa-free throughout the Schengen Area for up to 90 days within a 180-day period.
However, even with visa-free entry, there are usually certain conditions. You might still need to demonstrate proof of sufficient funds for your stay, have a confirmed return or onward ticket, and state a clear purpose of visit, such as tourism. It’s always wise to check the official government travel advisories for your destination to confirm any specific entry requirements for visa-free travelers.
Step-by-Step Process: Getting Your Electronic Travel Authorization
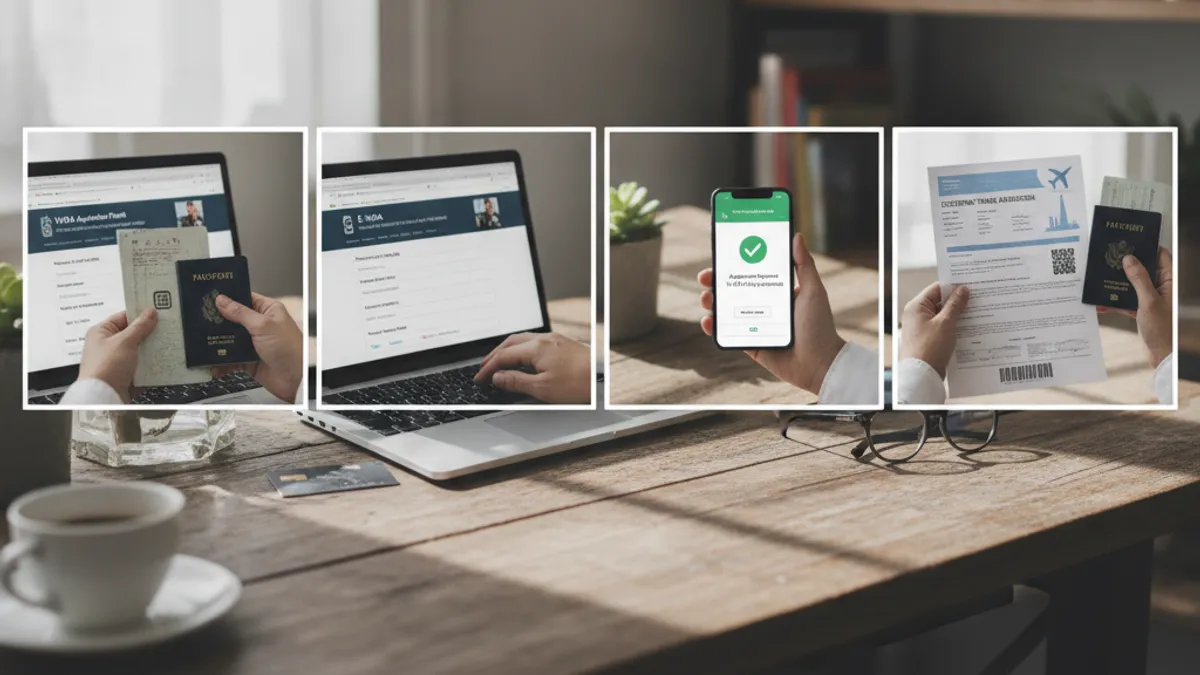
The journey to obtaining an e-visa is primarily a digital one, broken down into manageable steps. The core of the process is interacting with the official online portal provided by the destination country’s immigration authority.
Step 1: Determine Your Need and Eligibility
Before anything else, confirm if you actually need a visa for your destination country. Many countries have visa-waiver programs or bilateral agreements that allow citizens of certain nations to visit for short periods without one. Use official government immigration sites or your country’s foreign affairs ministry website to check this. If a visa is required, then determine if an e-visa is an option for your nationality and the purpose of your trip (tourism, business, transit, etc.).
For example, if you are a U.S. citizen traveling to Japan for tourism, you likely won’t need a visa for short stays.
Step 2: Locate the Official Government Portal
This is arguably the most critical step to avoid scams. Navigate to the official website of the immigration or foreign ministry of the country you intend to visit. These sites usually have a clear .gov domain or equivalent country-specific government domain. Search for “official e-visa application [Country Name]” on a search engine, but always scrutinize the search results for the official government link.
Verified buyer feedback commonly warns against clicking the first few sponsored links, as they are often ads for third-party services.
Step 3: Complete the Online Application Form
Once on the correct portal, you will find an application form. You’ll need to provide accurate personal details: full name (exactly as per your passport), date of birth, nationality, passport number, passport issue and expiry dates. You will also likely state your purpose of visit, planned length of stay, and accommodation details (hotel name and address, or host’s details). Be extra careful with phonetic spellings and ensure dates are entered in the correct format (e.g., MM/DD/YYYY or DD/MM/YYYY, as specified).
Step 4: Upload Necessary Documents
Many e-visa applications require you to upload supporting documents. Typically, this includes a scanned copy of your passport’s biographical page, which contains your photo, name, passport number, and other identifying information. Some countries may also require a recent digital passport-style photograph. Ensure these scans are clear, legible, and meet the file size and format requirements specified by the portal.
Poor-quality uploads are a common reason for application rejection.
Step 5: Pay the e-Visa Fee
After completing the form and uploading documents, you’ll be directed to a secure payment page to pay the e-visa fee. Accepted payment methods usually include major credit and debit cards. The fee amount varies significantly by country and the type of visa. Official government sites use secure, encrypted payment gateways to protect your financial details, often indicated by a padlock icon in your browser’s address bar.
Verify the fee amount on the official site to avoid paying inflated prices to unofficial vendors.
Step 6: Await Approval and Print Your e-Visa
Once submitted and paid for, your application will be processed. Processing times can range from a few hours to several business days or even weeks, depending on the country and volume of applications. You will typically receive an email notification with your e-visa attached, usually as a PDF file. It is imperative to print a clear copy of this e-visa.
You will need to present this printed document along with your passport to immigration officials upon arrival at your destination.
Step 7: Arrive and Present Your Documents
When you arrive at your destination, be prepared to present both your valid passport and your printed e-visa to the immigration officer. Your e-visa confirms your authorization to enter, but the final decision rests with the immigration authority. They may ask you further questions about your trip, such as the purpose and duration, and your accommodation. Having your itinerary and any supporting documents readily available can help expedite this process.
Ensure your e-visa is easily accessible in your carry-on luggage.
Step 8: Adhere to e-Visa Terms Throughout Your Stay
Your responsibilities don’t end once you’ve entered the country. It’s crucial to stay within the terms and conditions of your e-visa throughout your visit. This means adhering to the maximum duration of stay allowed, not engaging in any prohibited activities such as employment if you have a tourist visa, and respecting any other specific restrictions mentioned on your e-visa document or by the immigration authority. Overstaying or violating terms can have serious consequences for future travel.
Key Information & Compliance for Travelers
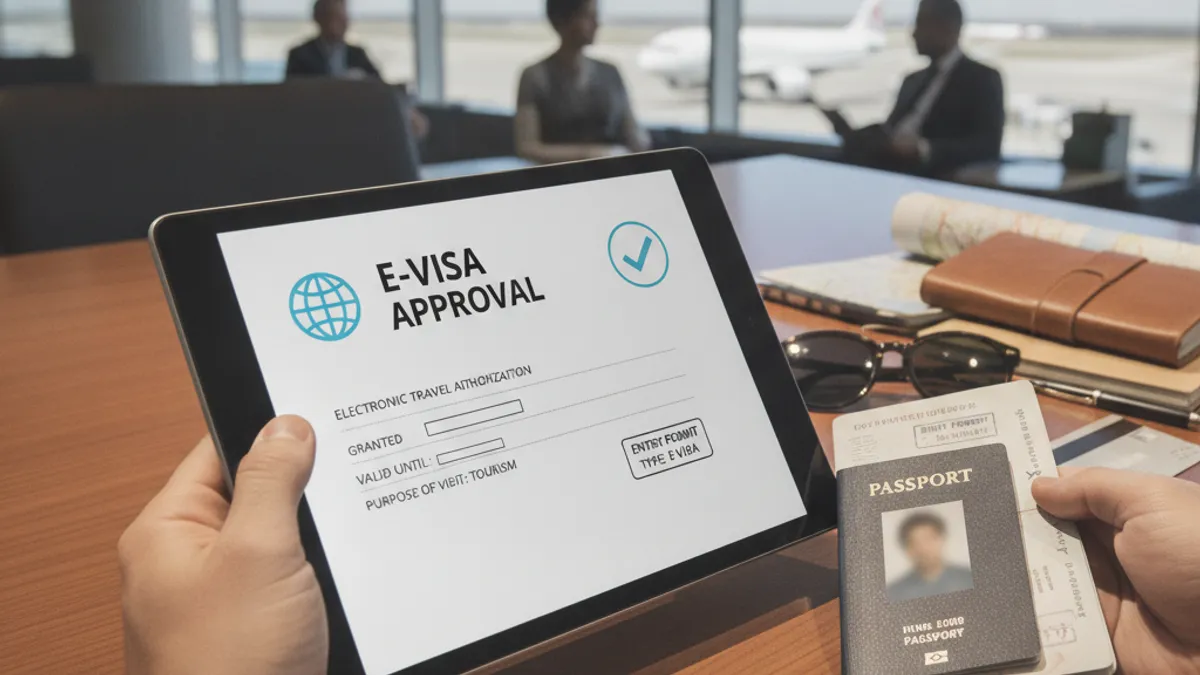
Navigating the requirements for international travel involves more than just securing a visa; it’s about ensuring you meet all the compliance aspects. For e-visas, this means understanding what it legally permits and what it doesn’t, and ensuring your travel aligns with these rules.
An e-visa serves as your authorization for entry, but it does not guarantee entry. Border control officers retain the final decision. Failure to comply with the e-visa conditions, such as attempting to work on a tourist e-visa or overstaying your permitted duration, can lead to penalties. These might include fines, deportation, and bans from re-entering the country in the future.
Some countries have specific e-visa validity requirements tied to the passport’s expiry date; for example, your passport might need to be valid for at least six months beyond your intended stay. Always check these specific requirements on the official government immigration site before you depart.