
Figuring out how to Indian visa application can feel like a puzzle, but it doesn't have to be a headache. The Indian government has streamlined the process, especially with options like the e-Visa, but understanding the specific requirements for your situation is key. From selecting the right visa category to ensuring your documents are picture-perfect, a little preparation goes a long way to a smooth journey.
Thank you for reading this post, don't forget to subscribe!Our research into the Indian visa application process shows that clarity on visa types, supported by official government guidelines, is paramount. For many travelers, the e-Visa, first introduced in 2014 and expanded significantly since, offers a convenient online application, but it's crucial to meet every specified criterion. Let's break down exactly what you need to know to get your Indian visa sorted.
What's Your Indian Visa Need? (Understanding Your Purpose)
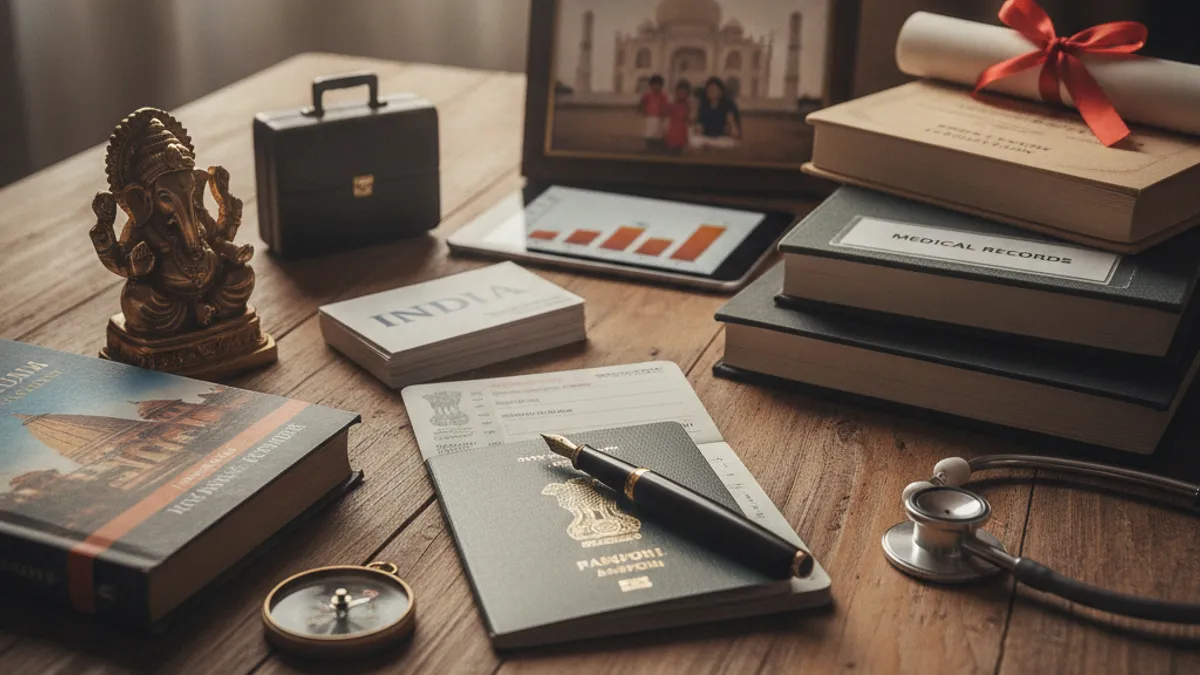
The first, and perhaps most critical, step in applying for an Indian visa is correctly identifying why you need to visit India. This dictates the entire application process, from the forms you fill out to the supporting documents you'll need and the allowed duration of your stay. Getting this wrong can lead to significant delays or even rejection.
Tourist vs. Business vs. Medical: Which Visa Fits You?
Deciding between a Tourist, Business, or Medical visa is about matching your primary reason for travel with the correct visa category provided by the Indian government. Each has distinct rules and eligible activities.
Tourist Visa: This is for individuals whose sole purpose is recreation, sightseeing, and visiting friends or family. You cannot engage in business activities, receive payment from an Indian source, or undertake employment on a Tourist Visa. These visas typically come in durations of 30 days, one year, or five years, each with specific entry and stay limitations. Multiple-entry options are common for longer-term tourist visas.
Business Visa: This visa is for those traveling to India for business purposes. This includes attending business meetings, setting up industrial or business ventures, buying or selling articles, participating in technical or business conferences, or acting as an exporter/importer. It's important to note that you generally cannot engage in employment or pursue a regular course of business on this visa. Business visas often allow for longer stays and multiple entries, sometimes up to five years, but this depends on your nationality and specific circumstances. You'll typically need supporting documentation from your company and the Indian entity you're dealing with.
Medical Visa: If you're traveling to India specifically for medical treatment, you'll need a Medical Visa. This visa is intended for patients seeking professional medical care at recognized Indian hospitals or treatment facilities. It is also available for patients' attendants, provided they are immediate family members. You'll need a letter from the Indian hospital confirming your admission for treatment, along with details of the treatment duration. Medical visas are usually granted for the period of treatment, with provisions for extension.
Conference Visa: For individuals attending an international conference in India, this visa is the appropriate choice. It's specifically for attending conferences, seminars, or workshops organized by government bodies or international organizations. You'll generally need an invitation letter from the conference organizer and approval from the relevant Indian government ministry.
Scenario Alert: If you plan to do a bit of everything, say, attend a business meeting and sightsee, you must choose the visa category that covers your primary purpose. Generally, if business is involved, a Business Visa is required, even if you have some leisure time planned. Always prioritize the visa that aligns with your main objective.
Your Application Checklist: Essential Documents and Info
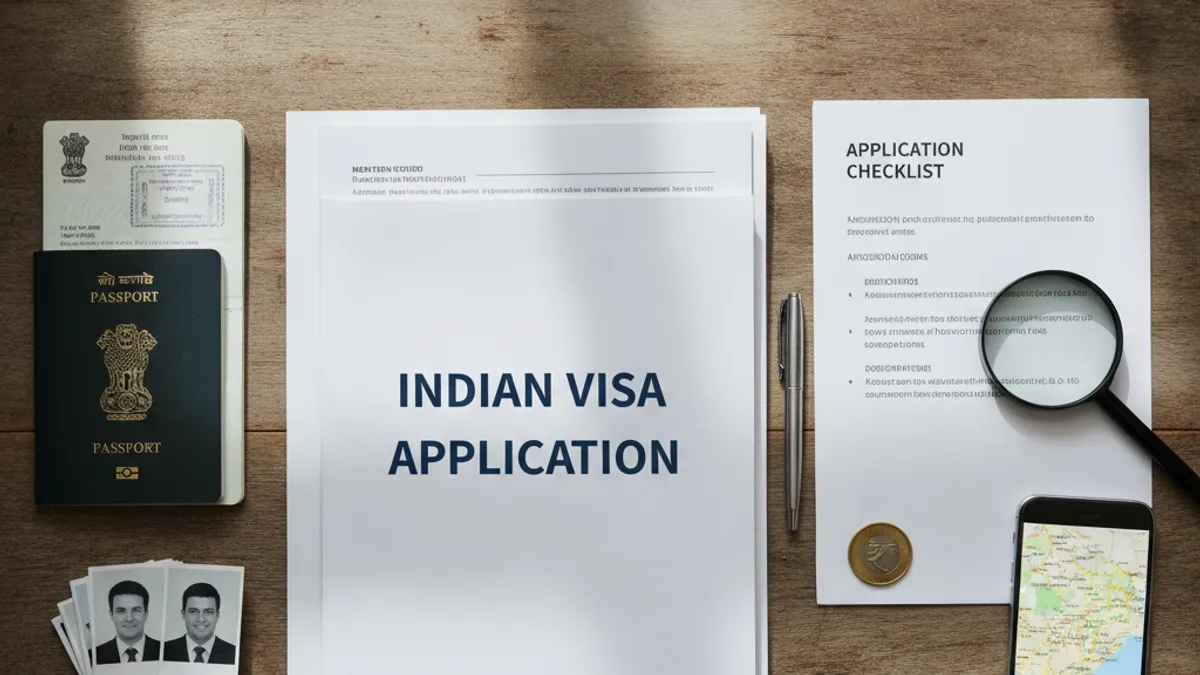
Once you've identified the correct visa type, the next crucial stage is gathering all the necessary documentation and ensuring your information is accurate. Missing a key document or providing incorrect details is one of the fastest ways to hit a roadblock in your application. Our research indicates that incomplete paperwork is a common cause for application delays or rejections.
Photo and Document Requirements: Getting Them Right
The specifications for photographs and supporting documents are quite strict. Adhering to these ensures your application moves forward smoothly and prevents common rejection reasons. Aggregate reviews of the Indian visa application system suggest that precise adherence to these visual and document standards is non-negotiable.
Photograph Requirements:
- Size and Format: Typically, a digital photograph is required for online applications. Specifications often include a minimum resolution (e.g., 350 pixels wide by 350 pixels tall) and a file size limit (e.g., under 1MB).
- Background: The background must be plain white or off-white, with no shadows or other individuals in the frame.
- Facial Expression: Your face should be centered and clearly visible, with a neutral expression or a slight smile. Your eyes should be open and visible.
- Headwear: Headwear is generally not permitted unless it's for religious reasons, and even then, your full face must be clearly visible.
- Attire: Ensure your clothing does not blend into the background, and wear something that clearly distinguishes your face.
Passport: Your passport must be valid for at least six months beyond your intended stay in India and have at least two blank pages for stamps. Ensure your passport photo and details page are clear and legible in any scanned copies required.
Supporting Documents (Vary by Visa Type):
- For Tourist Visas: Often, a confirmed return ticket or onward journey ticket might be requested.
- For Business Visas: This usually includes a letter from your sponsoring company detailing the purpose of your visit and confirming financial responsibility, as well as a letter from the Indian company inviting you and outlining the business relationship.
- For Medical Visas: A letter from the Indian hospital detailing the patient's condition, expected duration of treatment, and confirmation of admission is mandatory.
- For Conference Visas: An invitation letter from the conference organizer is essential.
Key Insight: Always check the official Indian visa website for the most current and precise specifications for your nationality and visa type. Requirements can change, and relying on outdated information is a common pitfall.
The E-Visa Route: Applying Online
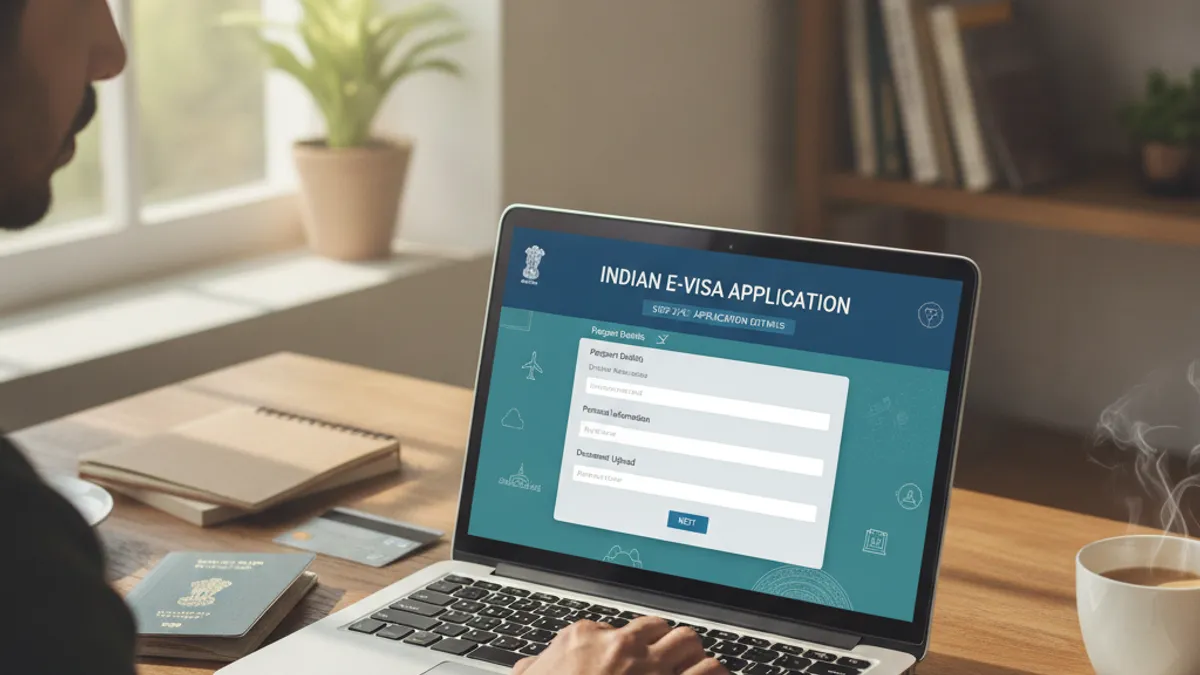
For many nationalities, the electronic visa (e-Visa) system is the most straightforward way to apply for a visa to India. This online platform allows you to complete most of the process from your home computer, significantly reducing the need for a physical visit to an embassy or consulate. The official portal, operating under the Government of India, is designed for efficiency, but requires attention to detail.
The e-Visa is available for specific purposes, primarily tourism, short-term business, and medical visits. It's crucial to confirm that your nationality is eligible for an e-Visa and that your intended purpose of visit falls under the categories supported by this system. If you qualify, this will likely be your preferred route.
Step 1: Filling Out the Online Application Form
This is where you'll input all your personal, passport, and travel details. Accuracy is paramount here. Each field is there for a reason, and any mismatch with your passport or other supporting documents can lead to issues.
- Personal Details: You’ll need to provide your full name as it appears on your passport, date and place of birth, nationality, and contact information. Ensure spelling exactly matches your passport.
- Passport Information: This includes your passport number, date of issue, date of expiry, and place of issue. Double-check these numbers; a single digit error can be problematic.
- Travel Details: You’ll be asked about your intended arrival date in India, your port of entry (the airport or seaport where you plan to arrive), and the specific visa type and validity you are applying for. Select the duration that best suits your trip.
- Previous Travel History: You may need to declare any previous visits to India or any visa refusals. Be honest and provide accurate details.
Important Note: The online application form requires you to select a "port of entry" in India. This is the specific airport or seaport where you intend to enter the country. You can usually find a list of eligible ports on the official e-Visa website.
Step 2: Uploading Your Documents
After completing the application form, you'll be prompted to upload scanned copies of your supporting documents. This typically includes your passport bio-data page and your photograph.
- Passport Scan: The scan must be clear, showing all your details and the machine-readable zone (MRZ). Ensure the entire page is captured, without any cropping or distortion.
- Digital Photograph: As mentioned earlier, the photo must meet strict criteria: plain white background, clear facial image, and appropriate dimensions. Ensure it's in the correct file format (usually JPG) and within the specified size limits.
Pro Tip: Use a high-quality scanner or a reliable mobile scanning app to ensure the legibility of your documents. Blurry or incomplete scans are common reasons for rejection.
Step 3: Making the Payment
The final step in the online application is payment of the visa fee. The fees vary significantly depending on your nationality, the type of e-Visa, and its duration.
- Payment Methods: The system typically accepts major credit and debit cards (Visa, Mastercard, etc.). Ensure your card is enabled for international online transactions.
- Fee Structure: As of 2026, fees can range from approximately $10 USD for a short-term tourist e-Visa to over $80 USD for longer-stay business or tourist e-Visas, though these figures are subject to change. Always check the official portal for the most current fee structure applicable to your nationality.
- Confirmation: Once your payment is processed successfully, you will receive a confirmation, often via email, and you can usually track your application status online.
The e-Visa is then typically processed within a few business days, and if approved, you'll receive an Electronic Travel Authorization (ETA) via email. You need to print this ETA and carry it with you to present at immigration upon arrival in India. Your passport will then be stamped with the actual visa.
When to Apply Through an Embassy or Consulate
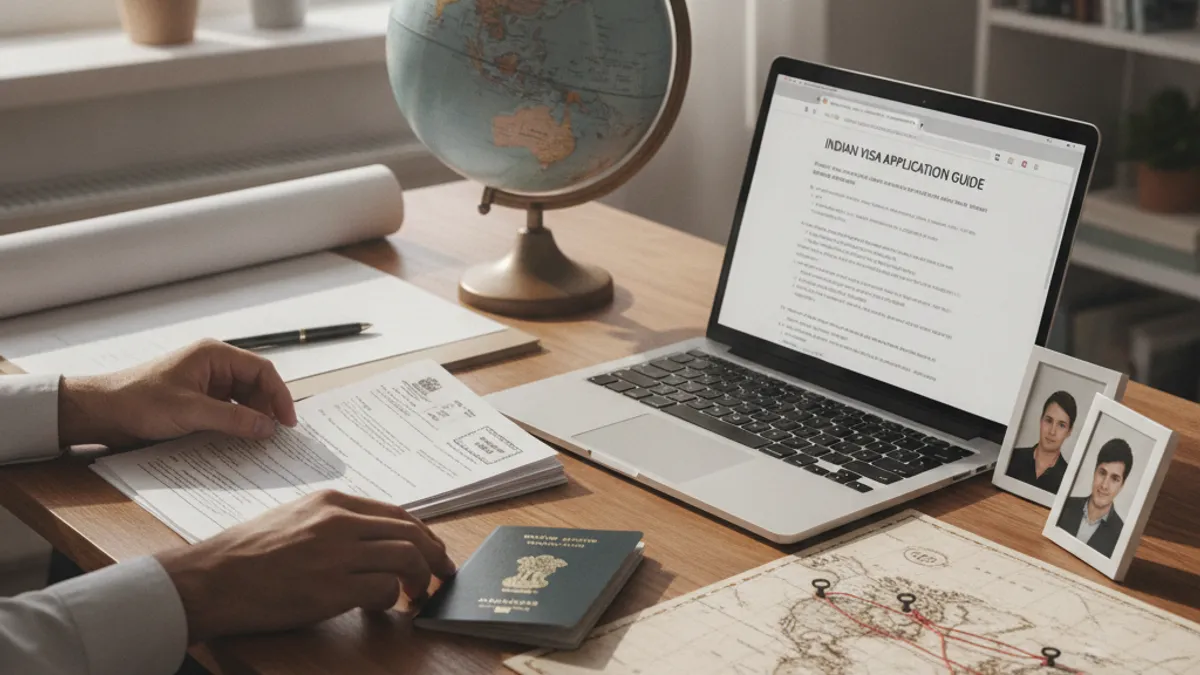
While the e-Visa is a great option for many, it's not the only path to getting a visa for India. In certain situations, you'll need to go through the traditional route: applying directly at an Indian Embassy or Consulate in your country, or through an authorized outsourced visa application center.
Eligibility Gaps: Not all nationalities are eligible for the e-Visa. If your country isn't on the approved list, you must apply through the traditional embassy channel. Similarly, certain visa categories, like long-term student visas or employment visas, are typically not available through the e-Visa system and require a standard visa application.
Specific Requirements: Some applicants might have unique circumstances or specialized travel purposes that the e-Visa system doesn't cater to. In these cases, a direct application allows for more detailed assessment and provision of specific supporting documents.
Logistical Reasons: Occasionally, applicants might find it more convenient to apply in person if they live very close to an embassy or consulate, or if they need to submit physical documents that cannot be scanned effectively. However, most authorized centers now offer comprehensive document handling services.
Common Pitfalls: Mistakes That Can Harm Your Application

Applying for any visa involves navigating a set of rules and procedures. For an Indian visa, common mistakes often stem from a lack of attention to detail or misunderstanding specific requirements, which can lead to unnecessary delays or outright rejection.
What to Watch Out For with Your Personal Details
Incorrectly entered personal information is a primary reason for application issues. Even minor discrepancies can cause problems.
Name Mismatches: Ensure your name on the visa application EXACTLY matches your passport. This includes middle names, spelling, and any hyphens. If your passport lists "Mary Ann Smith" and you enter "Mary A. Smith," it could be flagged. Verified buyer feedback often highlights this exact issue.
Date and Place of Birth: Double-check these figures. Incorrect birth dates can lead to identity confusion. Official Government of India immigration data indicates these fields are critical for verification.
Passport Validity: Ensure your passport has at least six months of validity beyond your intended departure date from India. Some countries have reciprocal agreements, but India's requirement is firm across the board. This is a standard criterion outlined by the Bureau of Immigration, India.
Document Upload Fails & Why
Beyond incorrect photo specifications, which we touched upon, other document-related errors can stall your progress.
Unclear Scans: Passport bio-data pages must be perfectly clear. If the text is blurry, a hologram obscures information, or the scan is cut off, it will likely be rejected. Think of it like sending a fax that's too faint to read.
Wrong Document Type: Uploading a driver's license instead of your passport, or a utility bill instead of a company invitation letter, will cause immediate problems. Always verify which document is required for the specific field.
Outdated Documents: Using an expired passport scan or a letter of invitation that's no longer current will lead to rejection. Ensure all submitted documents are valid and relevant to your current application.
Processing Times and Getting Your Visa Approved

Understanding how long your visa application might take is vital for travel planning. Processing times can vary based on the visa type, your nationality, the volume of applications being handled, and whether you applied through the e-Visa system or a traditional embassy route.
E-Visa Timelines: For e-Visas, processing is generally quite fast. Many applications are processed within 24 to 72 hours (3 business days). However, it's always recommended to apply at least 4-7 days before your intended travel date to allow for any unforeseen delays. The official Indian visa portal states that while most e-Visas are processed quickly, it can sometimes take up to five business days.
Embassy/Consulate Processing: Applications submitted through an embassy or consulate often take longer. Depending on the specific mission and workload, this can range from 3 to 15 business days or even more for complex cases or specific nationalities. It's best to check the website of the nearest Indian Embassy or Consulate for their estimated processing times.
Factors Affecting Speed: Applying during peak travel seasons (like holidays) can lead to longer processing times due to increased volume. Also, if your application requires additional verification or documentation, it will naturally take longer to resolve. The system is designed to flag applications that deviate from standard profiles for further scrutiny.
What happens after approval? For e-Visas, you'll receive an Electronic Travel Authorization (ETA) via email. You must print this and present it along with your passport at immigration. For standard visas, you'll typically need to collect your passport with the visa stamp from the embassy or application center.
Frequently Asked Questions About Indian Visas
Navigating the Indian visa application process often brings up specific questions. Here are some of the most common ones we come across, providing direct answers to help you move forward with confidence.
Is the Indian e-Visa available to all nationalities?
No, the Indian e-Visa is not available to all nationalities. Eligibility is determined by the Government of India, and it's crucial to check the official Indian visa portal to confirm if your nationality is covered for the e-Visa system. If your nationality is not listed, you will need to apply through a traditional embassy or consulate.
How long is the Indian e-Visa valid for?
The validity period of an Indian e-Visa depends on the type of visa and your nationality. Common options include 30-day e-Visas (typically for tourism, valid from date of grant), and one-year or five-year e-Visas for tourism, business, or conference purposes. Each has specific conditions for entry and the maximum duration of stay per visit. For instance, a 30-day e-Tourist Visa is usually valid for single entry, while longer-term visas often permit multiple entries but with daily stay limits.
Can I extend my Indian visa once I'm in India?
Generally, extending an Indian e-Visa is not permitted, except in very limited circumstances such as medical emergencies. Standard visas may have provisions for extension by the Foreigners Regional Registration Office (FRRO) or Foreigners Registration Office (FRO) under specific conditions, but this is not guaranteed and requires strong justification and supporting documents. It is always best to apply for a visa that covers your entire intended stay.
What happens if my Indian visa application is rejected?
If your application is rejected, you will usually be notified of the reason. Depending on the grounds for rejection, you may be able to reapply. However, it's important to carefully address the reasons for the initial rejection before submitting a new application to avoid a similar outcome. If a standard visa application is rejected, you might need to seek guidance from the embassy or consulate.
Final Decision: Are You Ready to Apply?

After walking through the different types of visas, understanding the documentation needed, and learning about the application processes, you should now have a clearer picture of how to proceed with your Indian visa application. The key takeaway is to be thorough, accurate, and to always refer to official sources for the most up-to-date information.
If you've confirmed your nationality is eligible for an e-Visa, accurately identified your purpose of visit, gathered all required documents, and understand the application steps and potential pitfalls, you're likely ready to start the online process. If your situation is more complex, or if you're not eligible for an e-Visa, ensure you have clear instructions for applying through an embassy or consulate.
Your Next Steps:
- E-Visa: Visit the official Indian visa portal to start your online application.
- Embassy/Consulate Visa: Locate the nearest Indian Embassy or Consulate or its authorized visa application center and follow their specific application procedures.
Being prepared and patient is half the battle. With careful attention to detail, your journey to India can begin smoothly by securing the correct visa.