
Applying for a US tourist visa can feel like a complex maze, but it doesn’t have to be. If you’re planning a trip to the United States for vacation, to visit family, or for a short business meeting, understanding how to process your US tourist visa is key. We’ll walk you through the essential steps, focusing on clarity and helpful guidance.
Thank you for reading this post, don't forget to subscribe!This guide is designed to simplify the journey for you. We’ll cover everything from identifying the right visa to preparing for your interview. As of 2026, the core process remains consistent, but details can shift, so always verify with official sources. Let’s get started on making your US travel plans a reality.
What is a US Tourist Visa and Who Needs It?
A US tourist visa, most commonly the B-2 visa, is an official authorization that allows foreign nationals to enter the United States for temporary stays. This visa is specifically for individuals traveling for pleasure, such as tourism, visiting friends or relatives, or attending certain medical treatments. It’s crucial to understand that this visa is for non-immigrant purposes, meaning you must intend to return to your home country after your visit.
So, who needs one? Generally, if your nationality isn’t part of the Visa Waiver Program (VWP), you will likely need to apply for a tourist visa. The VWP allows citizens of certain countries to travel to the U.S. for tourism or business for up to 90 days without obtaining a visa. If your country is not on this list, or if you’ve had previous visa issues, the B-2 visa is your entry point.
You can check the official list of VWP countries on the U.S. Department of State website.
Step 1: Initial Screening – Do You Need a Visa?
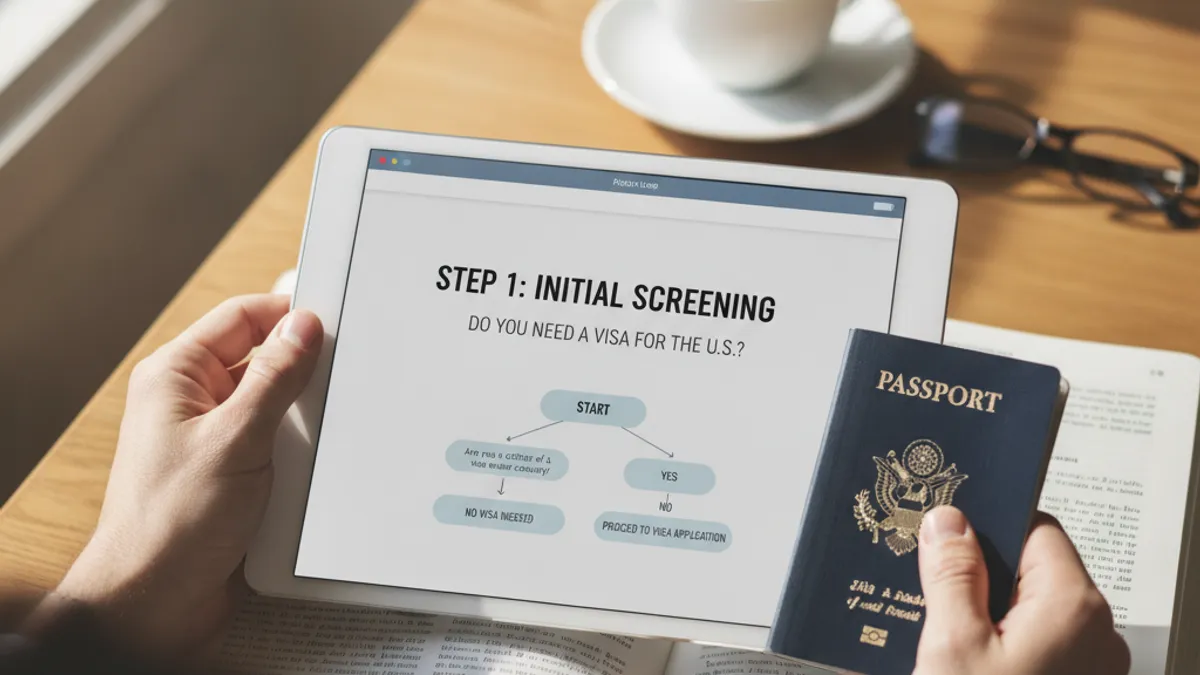
This is your very first decision point. Before you dive into filling out any forms, it’s essential to determine if a US tourist visa is actually what you need. The primary factor here is your nationality and your country’s participation in the Visa Waiver Program (VWP). If your country is on the VWP list, you may be eligible to travel to the U.S. for tourism or business for up to 90 days without needing to apply for a visa.
Instead, you’d typically apply for an Electronic System for Travel Authorization (ESTA).
However, if your country is not on the VWP list, or if you have certain disqualifying factors (like a prior visa denial or criminal record), then yes, you will almost certainly need to apply for a B-2 tourist visa. Our research indicates that individuals from nations like China, India, Russia, and many African countries, for example, are generally required to obtain a visa. Confirming this upfront saves you time and potential frustration.
Key Question: Is my nationality eligible for the Visa Waiver Program?
- YES: You may only need to apply for an ESTA. Check the U.S. Department of State website for the current list of VWP countries.
- NO: You will likely need to apply for a B-2 tourist visa. Proceed to the next steps in this guide.
Step 2: The Core Application – Filling Out the DS-160 Form
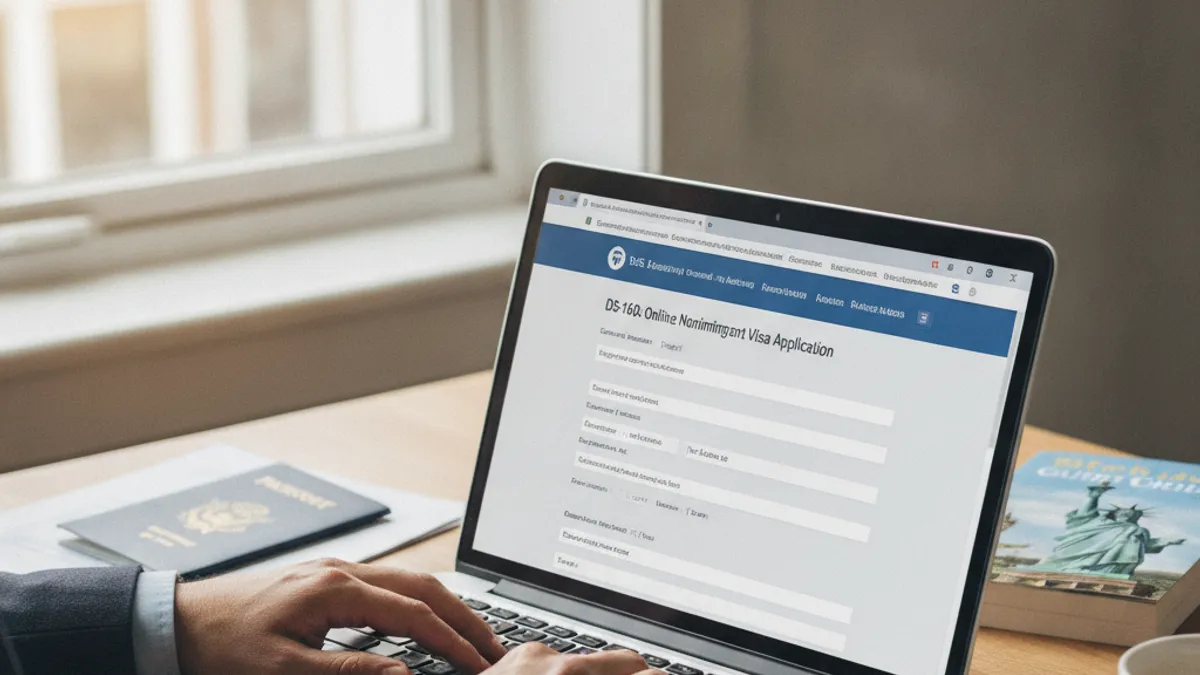
Once you’ve confirmed that you need a B-2 visa, the next major hurdle is completing the DS-160, Online Nonimmigrant Visa Application form. This is the official application form used by the U.S. Department of State, and it’s where you’ll provide all the necessary information about yourself, your travel plans, your background, and your ties to your home country. Accuracy and completeness are paramount here; any errors or omissions can lead to significant delays or even a denial of your visa.
You’ll need to access this form online. Make sure you have a stable internet connection and plenty of time, as it can take an hour or more to complete depending on your familiarity with the questions. You’ll be asked for details from your passport, information about your education and employment history, family details, and your intended itinerary. Importantly, you’ll also need a digital photograph that meets specific U.S. visa photo requirements, which include a white background and specific dimensions.
Have all this ready before you start.
What You’ll Need for the DS-160:
- Passport: Valid passport details.
- Travel Itinerary: Dates and addresses of where you plan to stay in the U.S. (even if it’s an approximation).
- Employment History: Details of your current and past jobs.
- Education History: Details of your schooling.
- Family Information: Details about your parents, spouse, and children.
- Digital Photograph: Meeting the strict U.S. visa photo specifications.
Pro-Tip: Save your application frequently. The system can time out, and you don’t want to lose your progress. You’ll be given an Application ID; keep this safe as you can use it to retrieve your application later if needed.
Step 3: The Fee – Understanding the Cost
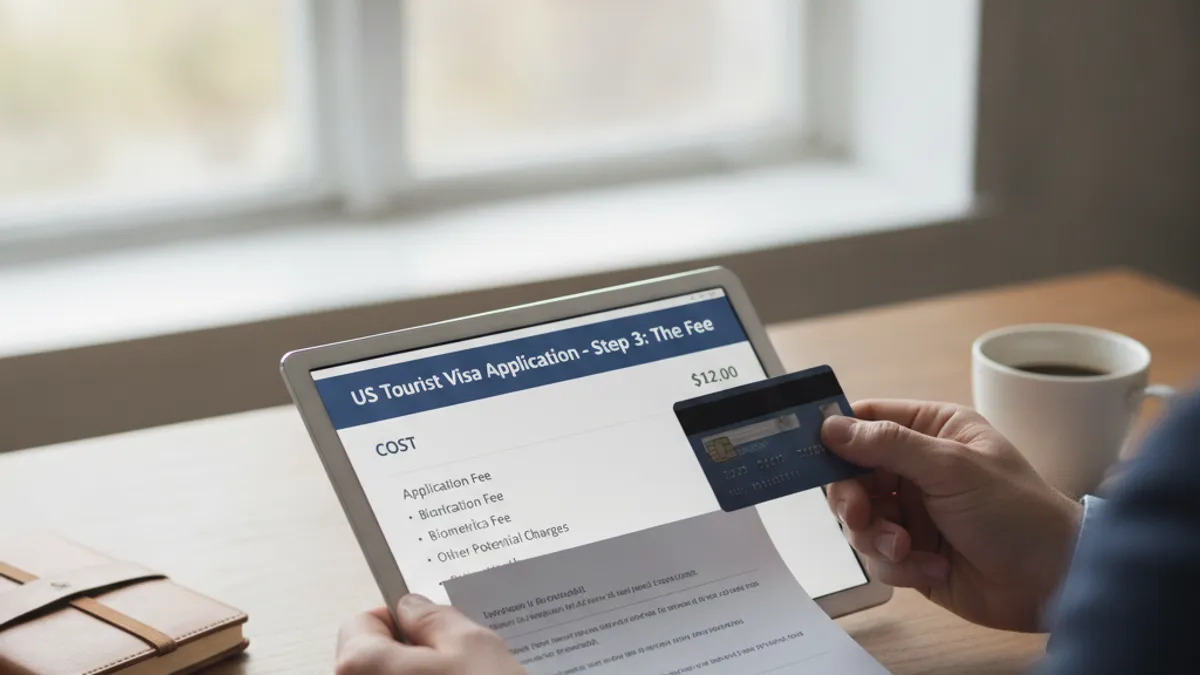
Applying for a U.S. visa involves paying a non-refundable application fee, often referred to as the MRV (Machine Readable Visa) fee. This fee is required for processing your application, regardless of whether your visa is ultimately approved or denied. The exact amount can vary, but for the B-2 visa, it’s typically around $185 USD. However, it’s vital to check the official U.S.
Department of State website or your local U.S. embassy/consulate website for the most current fee information, as these amounts can be updated.
Payment methods also vary by country. Some common methods include online payments through a designated portal, bank transfers, or cash payments at specific authorized banks. You’ll typically need to pay this fee before you can schedule your visa interview. Keep the payment receipt, as you will usually need to present it when you book your interview appointment and again at the interview itself.
This fee covers the administrative costs of processing your application.
Typical Fee Structure for a B-2 Visa (as of early 2024):
| Visa Type | Application Fee (USD) | Notes |
|---|---|---|
| B-1/B-2 (Visitor) | $185 | Non-refundable, processed upon application |
Important Note: This fee is non-refundable. It is paid to process your application, not to guarantee approval. Always verify the fee amount on the official website for your specific country.
Step 4: Scheduling Your Embassy or Consulate Interview
After submitting your DS-160 form and paying the visa application fee, the next critical step is to schedule your interview at the U.S. embassy or consulate in your country of residence. This is typically done through an online scheduling system managed by the U.S. Department of State or its contracted service provider. You will usually need your DS-160 confirmation number and your fee payment receipt number to book an appointment.
The availability of interview slots can fluctuate significantly depending on the location and the time of year. Wait times can range from a few days to several weeks or even months. It’s advisable to check the scheduling system regularly, especially if your desired dates are not immediately available. Factors like peak travel seasons or increased application volumes can impact how quickly you can secure an appointment.
Planning ahead is essential to allow enough time for the entire process before your intended travel dates.
How to Schedule Your Interview:
- Access the Official Scheduling System: Go to the website designated for your country’s visa appointments.
- Create an Account/Log In: You’ll likely need to register.
- Enter Required Information: Input your DS-160 barcode number and your fee receipt number.
- Select an Appointment Date and Time: Choose from the available slots.
- Confirm Your Appointment: Print out your appointment confirmation.
Considerations for Scheduling:
- Location: Some cities may have more appointment availability than others.
- Time of Year: Peak travel seasons (like holidays) often mean longer waits.
- Visa Type: While most tourist visas follow a similar scheduling process, specific requirements can vary slightly.
Step 5: Preparing for Your Visa Interview

The visa interview is a crucial part of the application process where a consular officer will assess your eligibility for a tourist visa. Their main objective is to determine if you genuinely intend to visit the U.S. for a temporary purpose and if you have strong ties to your home country that will ensure your return. Preparation is key to feeling confident and answering questions effectively. You’ll need to gather all relevant documents that support your application and demonstrate your non-immigrant intent.
This means bringing your current passport, the DS-160 confirmation page, your interview appointment letter, and the fee payment receipt. Beyond these basics, you should assemble documents that showcase your ties to your home country. This could include a letter from your employer stating your position, salary, and approved leave dates; proof of property ownership like deeds or rental agreements; bank statements showing financial stability; or evidence of family responsibilities such as marriage certificates or birth certificates for dependents who will remain in your home country. The more credible evidence you can present, the stronger your case will be.
Comments are closed.